큐비보드를 파일 서버로 만들어보기로 했다.
소음도 없고 전력 소모량도 작기 때문에 제격이라 생각했다.
나한테 제일 편하고 익숙한 apache2 + php5 + mysql 환경을 큐비보드에 구성해보자
현재 큐비보드에 설치된 OS가 우분투 기반이라 apt-get으로 쉽게 설치할 수 있다.
1. apache2 설치.
root@cubieboard2:~# apt-get install apache2
2. PHP5 설치
root@cubieboard2:~# apt-get install php5
3. Mysql 설치
root@cubieboard2:~# apt-get install mysql-server mysql-client
4. PHP5 와 Mysql 연동을 위한 설치
root@cubieboard2:~# apt-get install php5-mysql
우와 엄첨 쉽다..ㅋㅋ
알아서 다 설치해주고 apache2 와 php, mysql 까지 알아서 다 연동해준다.ㅋㅋ
이제 apache2 서버 재구동 하고 정상적으로 접속되는지 확인해보자.
root@cubieboard2:/etc/apache2# service apache2 restart
 * Restarting web server apache2
apache2: Could not reliably determine the server's fully qualified domain name, using 127.0.1.1 for ServerName
 ... waiting apache2: Could not reliably determine the server's fully qualified domain name, using 127.0.1.1 for ServerName
근데 restart 하니까 Warning 이 뜬다.
ServerName을 설정하라는 내용인다.
/etc/apache2/apache2.conf 에 ServerName localhost 추가해주면 없어진다.
그리고 doc root 인 /var/www 에 임시 파일(test.php)을 작성해서 접속해보자.
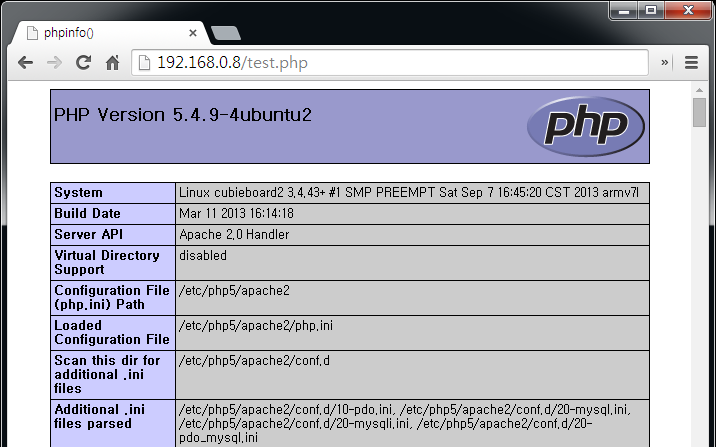
오우 접속 잘된다.
하지만 한가지 아쉬운점이 있는데 개인적으로 php 확장자를 사용하는 것보다 html 확장자를 사용하는 것을 더 선호하는 편이라서 이부분을 설정하자.
root@cubieboard2:/etc/apache2# cat mods-enabled/php5.confSetHandler application/x-httpd-php SetHandler application/x-httpd-php ....
이제 html 에서도 php 문법을 사용할 수 있다^^
한가지더..
에러페이지를 지정해서 보여주고 싶다면..
root@cubieboard2:/etc/apache2# cat  /etc/apache2/conf.d/localized-error-pages
...
ErrorDocument 500 /500.html
ErrorDocument 404 /404.html
ErrorDocument 401 /401.html
...
위와 같이 하면 된다..

One Response to [Cubieboard2] apathe2+php+mysql 서버 구축하기(apt-get)